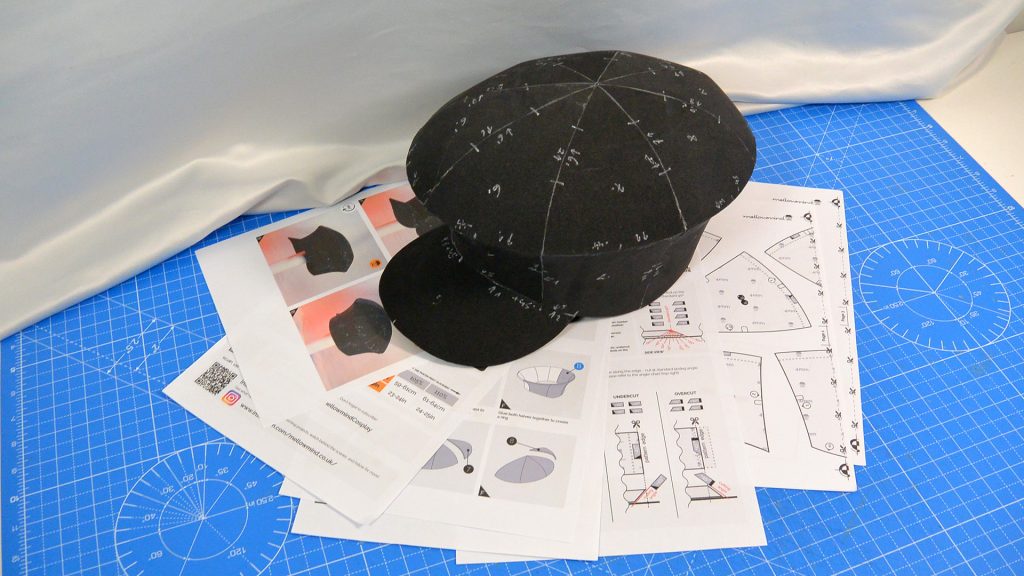
DIY EVA foam patterns are printable PDF files designed to help you craft great looking project with ease. These digital patterns have been tested, are ready to print and provide all necessary info, assembly instruction and reference pictures to help you craft like a pro.
These patterns come in a downloadable PDF format, allowing you to print them at home and use them as guides for cutting and assembling EVA foam pieces.
Whether you're crafting cosplay armor, props, or creative decorations, printable patterns take the guesswork out of the process and allow you to dive in right away!
Accuracy & Consistency
DIY patterns ensure each part is cut to the correct size and shape to create the design you’re after
Saves Time
No need to guess or start from scratch - adjust he size, print, trace, and you are ready to start crafting!
Customizable
Once assembled you can modify and adjust the design for different projects.
Reusable
Once downloaded, you can print them and build as many times as needed
Start Crafting Immediately
No waiting! Once you purchase a PDF pattern, you’ll receive an instant download link to your email. Simply save the file to your device, and you’re ready to go!
Our patterns are designed for standard A4 and Letter-sized paper, so printing is as simple as hitting "Print" on your home printer. Need a different size? Use your printer settings to scale the pattern to fit your needs. Each file includes an easy-to-follow scaling chart to ensure the perfect fit for your project.
PICK THE RIGHT PROJECT TO START
Not sure where to start? We offer over 150 different PDF patterns to suit all experience levels. From helmets and armor to props, hats, and accessories, we have a pattern for every project. Browse our collection and find the perfect design for your next build!
If an exact design isn’t available, look for a similar shape that can be adapted to fit your needs. Foam crafting is all about customization, so patterns can be resized, combined, or modified to achieve your vision. Start with a solid base, then tweak details to make it truly your own!
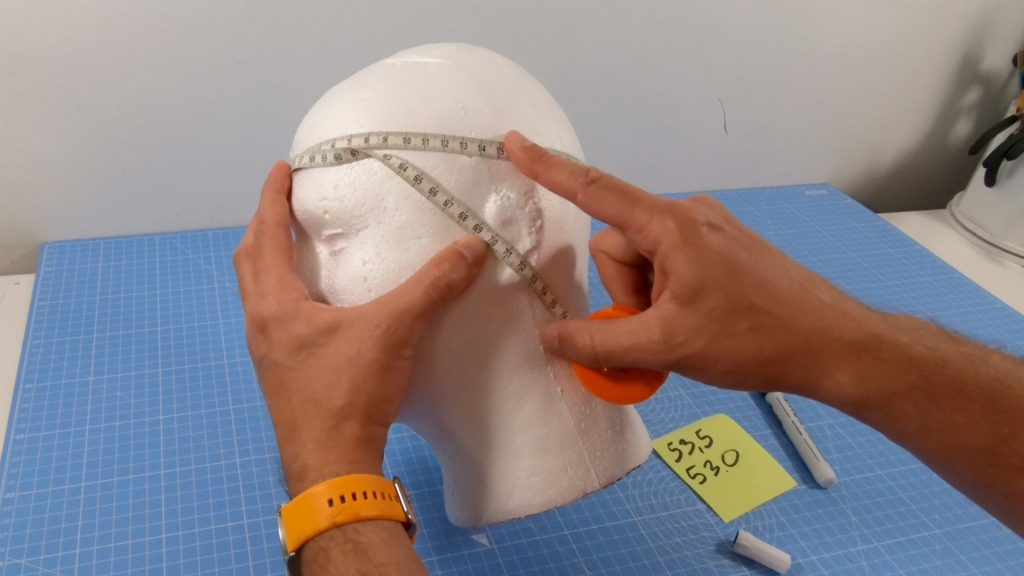
Measure your head/body and check the scaling chart to see if a 100% printing scale will be right for you. If necessary, adjust the scale and print all pages.
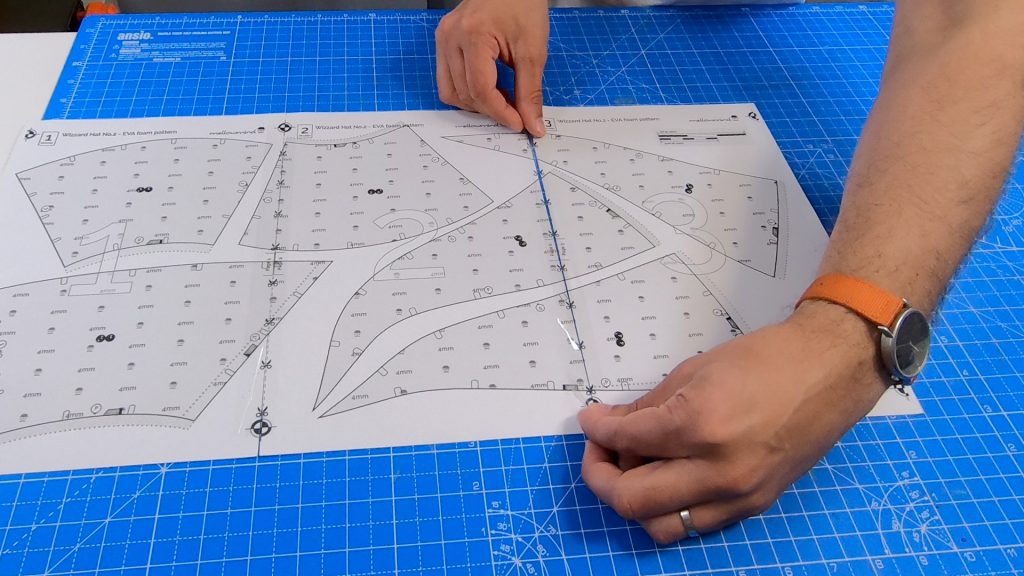
2. Print, Trim and Tape
Print all pages on A4/US letter paper and if you are increasing the printing scale above 100% - you might need to use the ‘Poster Print’ feature in Acrobat Reader. Once printed, all pattern pages need to be trimmed along the dash lines with scissors symbols, and tape.
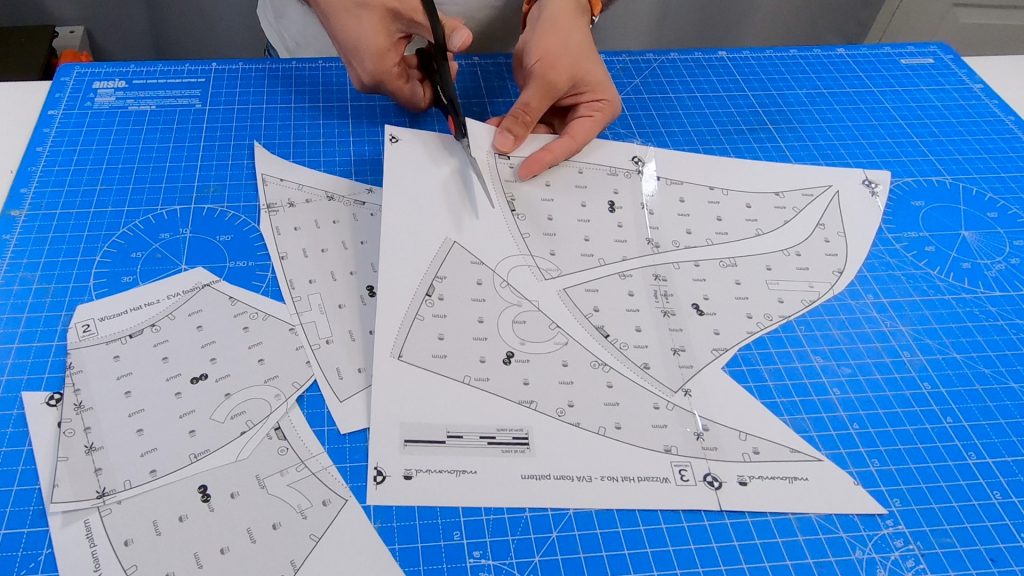
3. Cut Patterns
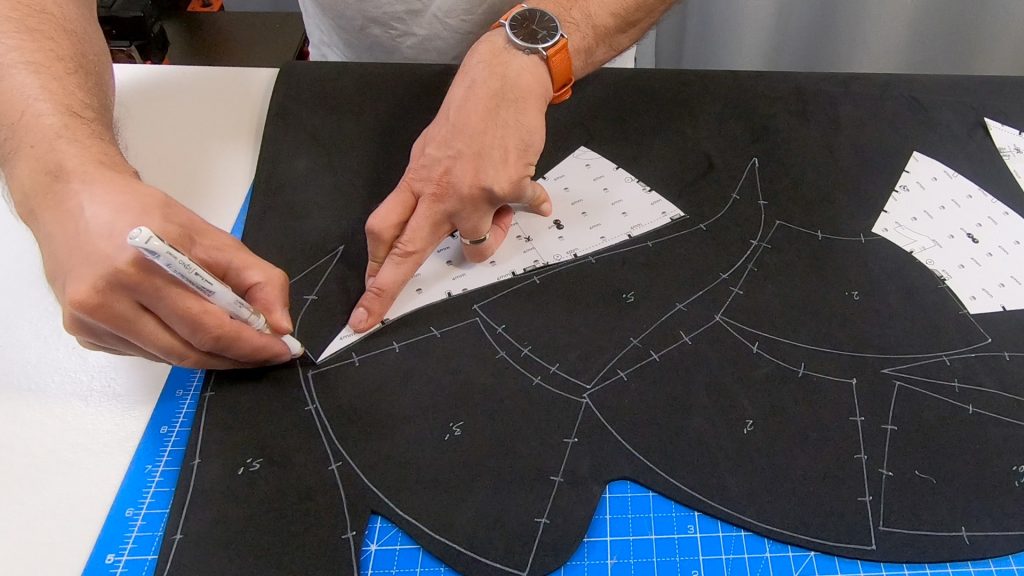
Only after all pages have been trimmed and taped you can start cutting out all individual patterns along the outline stroke. Using a pattern notcher, add registration markers to help you later with the correct parts alignment. For patterns that need to be used twice - flip over to the blank side and mark all symbols and markers - it will be useful later.
4. Transfer to EVA Foam
All patterns need to be traced to foam, some (marked with double numbers e.g., 1,1’) need to be transferred twice: as left and right-hand sides. Simply flip the pattern over to the blank side and transfer again. Don’t forget to mark all the edge cutting symbols, parts and edges number on foam to help with a smooth assembly.
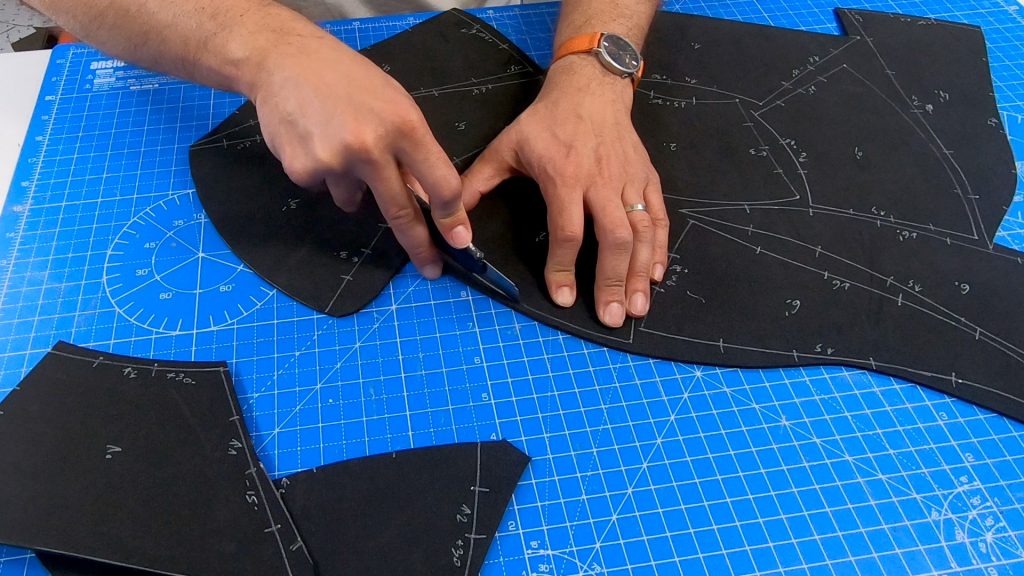
5. Cut all parts
Most parts need to be cut at a straight 90-degree angle - the blade needs to be positioned perpendicular to the foam surface. Please be aware that some edges might require a specific inner or outer bevel edge - so make sure to check the bevel edge symbol with the angle value and refer to the cutting angle chart for accuracy.
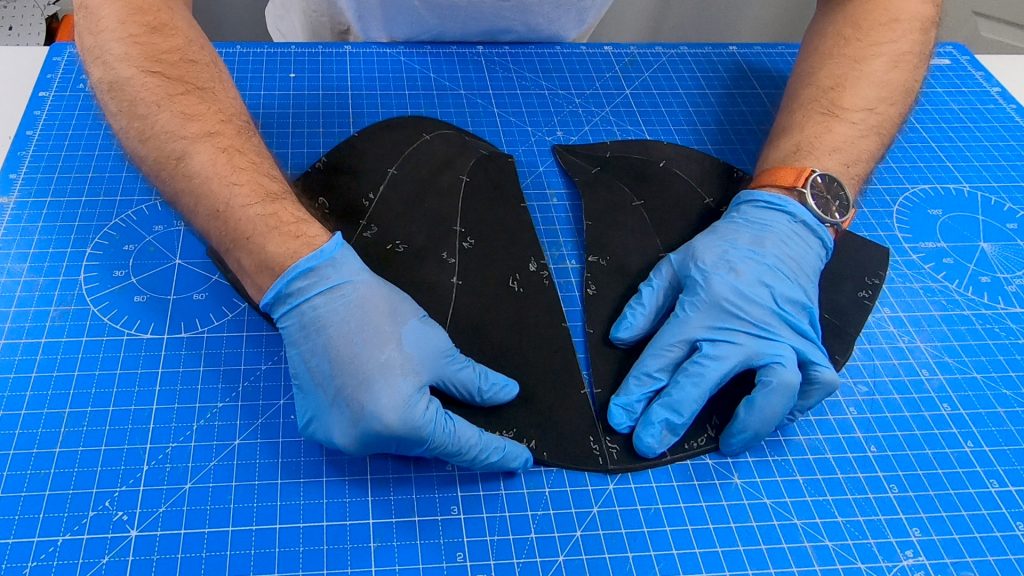
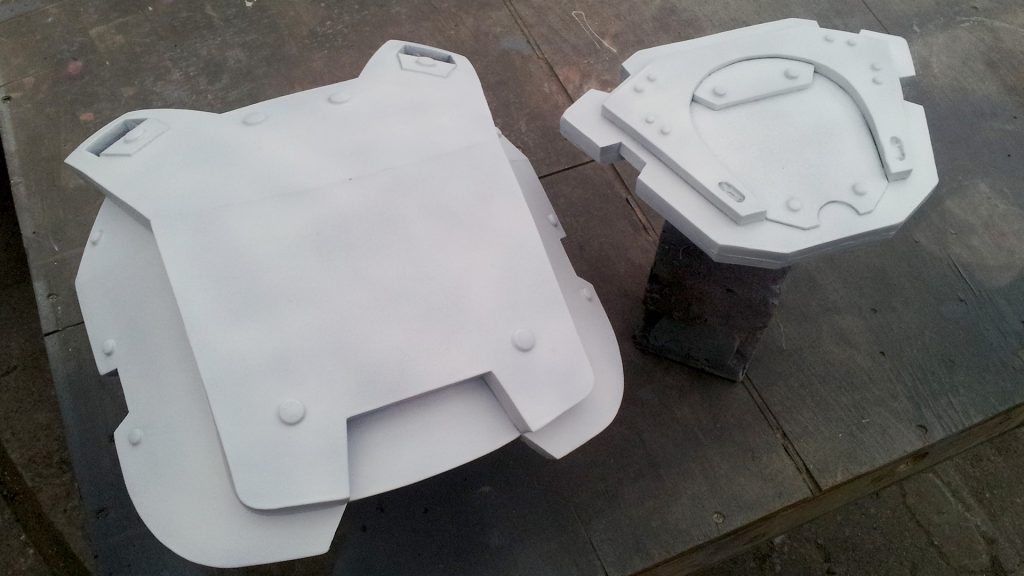
6. Glue Parts
Once all parts have been cut, test how they all fit and familiarize yourself with the assembly steps. It’s always better to work in small steps, so don’t try to glue everything at once. Patience and proper alignment of registration markers are key to a great-looking result
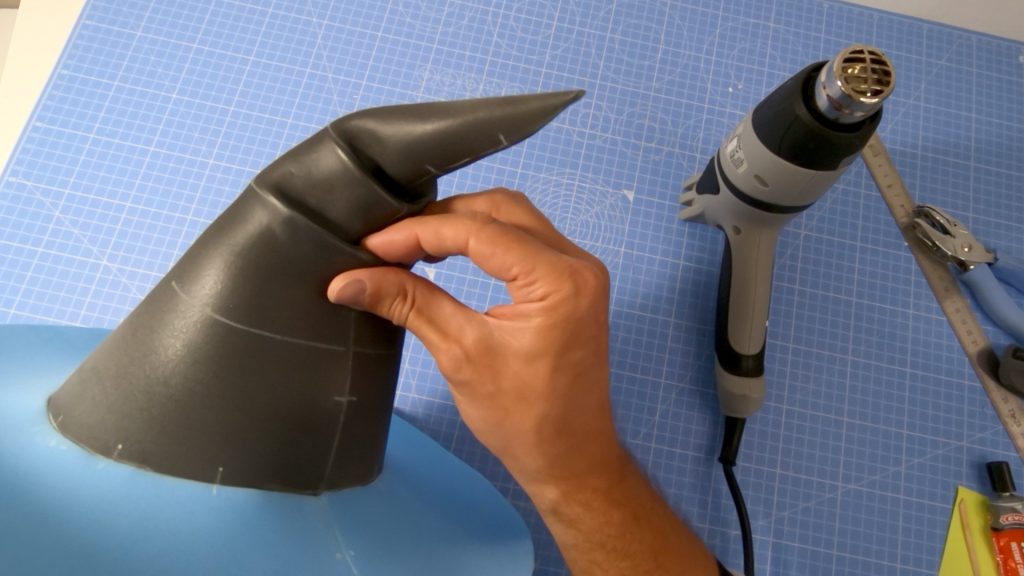
7. Heat Shape & Foam Clay
Once the project is fully assembled, allow the glue some extra time to fully set before proceeding to heat shaping. Use a heat gun to improve the overall geometry of the piece, by bending the foam more to your liking.
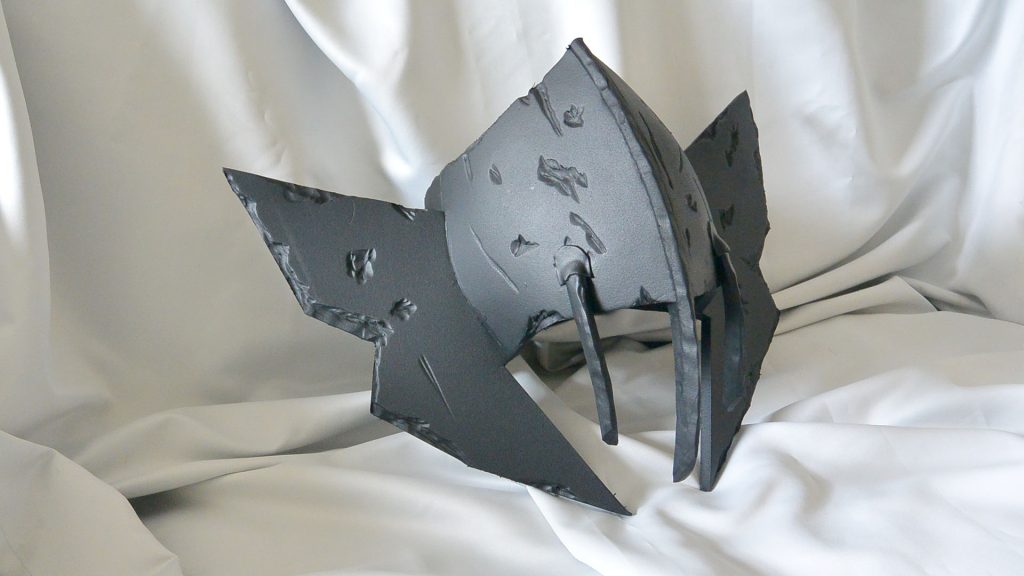
8. Battle Damage (optional)
Give your prop a battle-worn look by carving scratches, dents, and gouges into the EVA foam using a hobby knife or rotary tool. Lightly heat the foam with a heat gun to open up cuts for a more natural effect. For deeper damage, use a wood-burning tool to create realistic scorch marks.
9. Seal Surface
A well-sealed surface improves paint adhesion and extends the lifespan of your prop. Always start by heat-sealing the foam with a heat gun—this closes pores and helps sealants adhere better. Common sealants include Plasti Dip for a flexible, rubberized coating, Mod Podge or PVA glue for a budget-friendly barrier. Apply multiple thin layers, allowing each to dry fully, to prevent cracking or peeling.
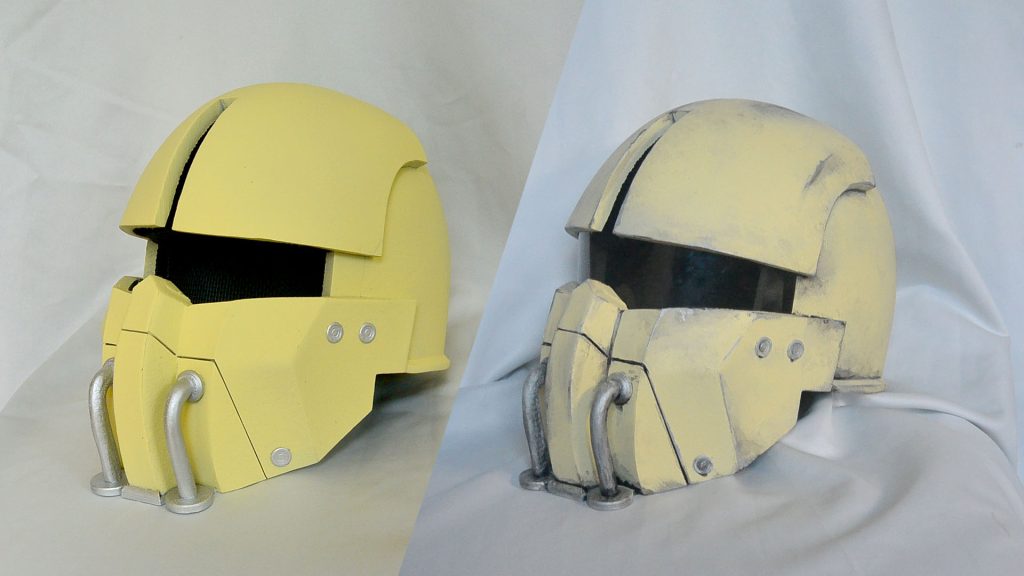
10. Painting & Wheatering
For even coating use acrylic paints, spray paints, or an airbrush—apply multiple thin layers rather than one thick coat. For a realistic finish, use weathering techniques such as dry brushing, washes, and sponging, that will add depth and wear to your piece. Always allow paint to dry fully between layers, and finish with a clear sealant to protect your work.
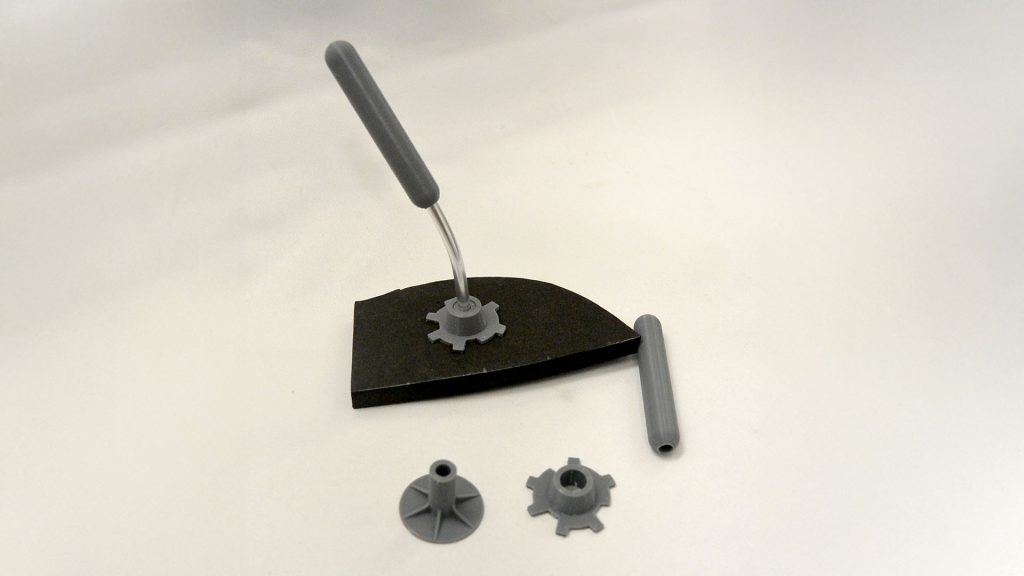
11. Final Touches & Extras
Details make all the difference! Add straps and buckles for a secure fit, or integrate LED lights for a futuristic glow. Attach fabric, feathers, or other materials to enhance texture and realism. Use strong adhesives or sewing techniques where needed, and test all the attachments before wearing. These final touches will bring your project to life, making it stand out on the convention floor or in a photoshoot!
TECHNICES & FAQ
We have over 150 ready to use patterns for a wide range
of projects: hats, maks, historical and si-fi helmets, armour
for both male and female, props and more!